Creatures of Sonaria Guides
How to play, grow, nest, trade, and stay alive after the tutorial ends.
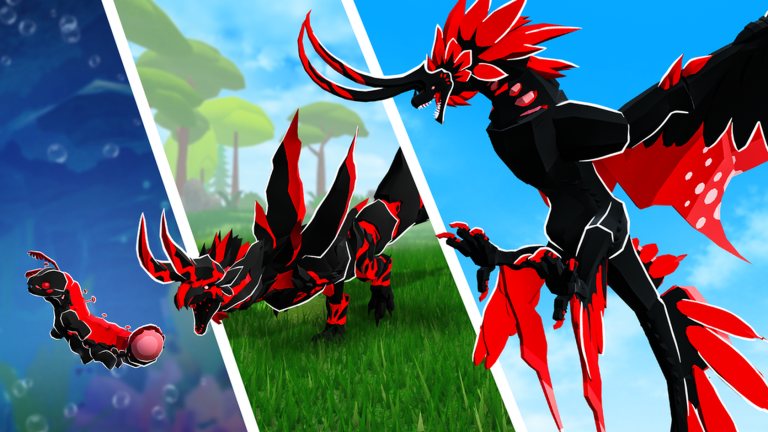
Creatures of Sonaria is easy to launch and easy to die in. You pick a species, paint it, and drop into a map that does not care about your first hour. Hunger, thirst, weather, and other players all tick at once. This hub is the index for the how-to pages that answer the searches people actually type: how to play, how to grow, how to nest, how to trade, how to get mutations, how to get traits, how to finish missions, how to get Logavian, how to get Shooms, and how to survive disasters.
Start with getting started if you have not learned sniff or the red door yet. If you already have a stored adult and keep losing it to lava or a grab, skip to how to survive or how to grow. Traders can jump to Trade Realm. Collectors who only care about Glowtail should open mutations before they burn a growth token.
Pick a guide by the problem you have
I just spawned and the HUD is noise. Use getting started plus the controls tool. Press K, learn H for sniff, and do not lay down in a populated area.
I cannot stay alive long enough to adult. Read how to grow and the beginner tier list. Diet and appetite matter more than a pretty palette from the codes hub.
I want Shooms without sitting in Trade Realm. How to get Shooms covers the five-per-two-minutes tick, regional missions, photovore AFK, and why Robux packs are a last resort.
I want a nested baby or a double trait. How to nest is the female-adult, key B, stay-near-the-egg page. Pair it with traits for the hex farm and mutations so you do not token-grow a slot you wanted Glimmer on.
I want Vaumora, Shararook, or another clipboard unlock. How to complete missions lists visible and secret sets. How to get Logavian is the Summer Paradise Winged Shell path, not a code.
Someone offered me 8k for a weekly creature. How to trade explains the ten-species gate, the 36k Shoom cap, and the scams that use gray-background slots.
How these guides relate to the rest of the wiki
Guides tell you the loop. The PvP tier list tells you which species win the loop once you can fight. The creatures hub and starter creatures tell you what a diet and mobility tag actually mean on the spawn screen. Items and plushies explain Aerix and Octroma before you waste Shooms in the plushie gacha. Updates and Summer Paradise tell you when the map rules change for a season.
If you came here looking for executors, that content sits under scripts with the usual account-risk warning. If you came here looking for Trello, it does not exist; use community links.
How we write a Creatures of Sonaria guide
Each page stays on one job. We do not paste the same 400-word outro on every file. We do not invent YouTube IDs. When a video exists and is unique, it sits in the middle of that page only. When two videos repeat the same redeem screen, we keep one codes page and move on.
Read the guide that matches tonight’s death, then jump to a sibling. The dropdown under Guides shows the first seven pages and then a hub link for the rest, including missions, Logavian, and traits. If you finish the core loop and still cannot hold a slot, the problem is usually diet or server population, not a missing secret button. Change species with the diet checklist and try a quieter region before you assume the game is unwinnable.
Frequently Asked Questions
Quick answers players ask after a wipe, a death, or a new event.
Which Creatures of Sonaria guide should a new player open first?
Getting started, then the beginner tier list. Learn sniff, drink, and the red-door menu before you chase mutations or Trade Realm.
Do these guides work on mobile?
Yes. The systems are the same. The controls tool maps tap equivalents for nest, sniff, and the action wheel.
Are the guides official?
No. This is a fan wiki. Mechanics are checked against the live Roblox game, public patch notes, and community documentation.